
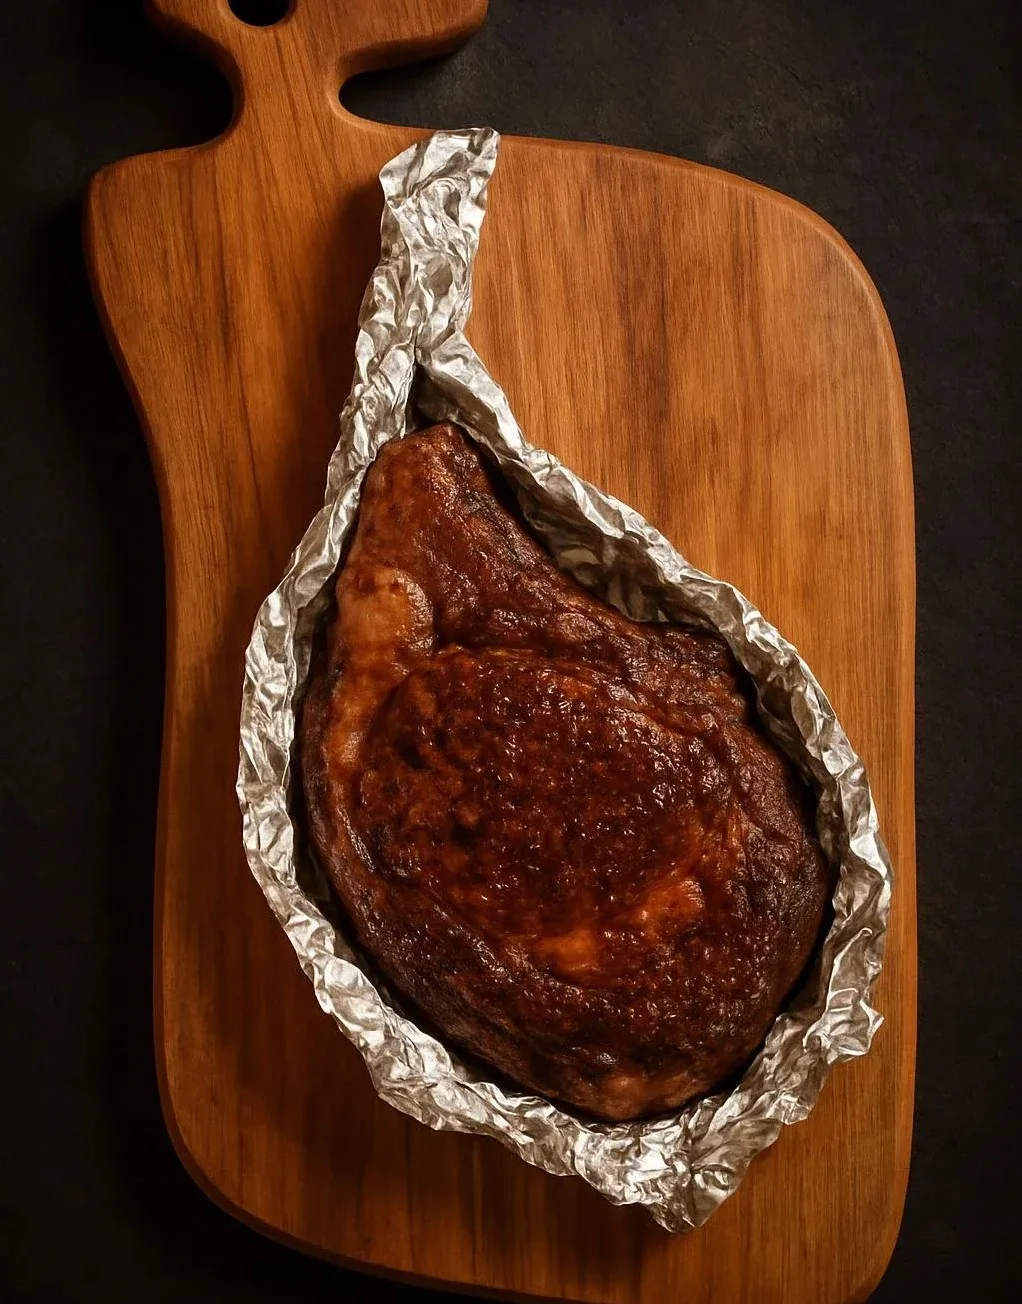
How to Cook THE Perfect Tomahawk Steak
A thick, bone-in ribeye demands technique more than luck: control its temperature, protect that thick cap of fat, and give it a proper sear to get the ideal crust without overcooking the center. Start with a plan for seasoning, cooking method, and resting time so every bite is tender and evenly cooked — and if you want a sweet finish, serve a warm dessert like a classic chocolate chip cookie alongside to balance the savory richness with something comforting: classic chocolate chip cookie recipe.
What makes this cut different and why technique matters
This ribeye on the bone arrives with a long frenched rib — the profile produces a thicker steak and a slower, less uniform heat transfer. The long bone acts like a heat sink, shielding nearby meat from direct heat and changing how quickly the interior comes up to temperature. That thickness is why standard searing methods can easily overcook the outer portions while leaving the center underdone. The goal is to develop an even, deeply caramelized crust while reaching a precise internal temperature through controlled heat.
Selecting the right piece: grade, size, and seam fat
Choose a steak at least 2 inches thick and 30–40 ounces for the ideal balance of surface area and thickness. Look for:
- USDA Prime or high-quality Choice with abundant marbling for tenderness and flavor.
- A long, cleanly frenched bone and a substantial cap of fat — avoid excessively trimmed pieces.
- Even thickness along the meat; severe tapering makes even cooking harder.
Smaller tomahawks cook faster but lose the drama this cut is known for. If you can, ask your butcher to trim silver skin and leave an even fat cap.
Seasoning strategy for maximum flavor penetration
Simple, bold seasoning works best. Salt early and consider a two-stage approach:
- Dry-brine: Salt the steak evenly (kosher salt, about 1/2 tsp per pound) and refrigerate uncovered for 1–24 hours. This firms the surface, concentrates flavor, and improves crust formation.
- Finish seasoning: Right before cooking, pat dry and add a light sprinkle of freshly ground black pepper and flaky finishing salt after resting.
Add aromatics only as finishing accents. Strong marinades are unnecessary; the cut’s rich beef flavor should remain the star.
Essential equipment and thermometer technique
Accurate temperature control is the most important tool in home results.
- Instant-read digital thermometer (probe-style with alarm recommended)
- Cast-iron skillet or heavy-duty grill grate for searing
- Oven or indirect-heat grill zone for gentle cooking
- Tongs, heatproof gloves, and a sheet pan with a wire rack
Use the thermometer to track internal temperature at the thickest point, avoiding contact with bone. Target 10–15°F below your final desired temperature before searing when using a reverse-sear approach.
Step-by-step recommended method: reverse sear for control
Reverse searing is the most reliable way to get an even pink interior and a superior crust on a thick bone-in steak.
- Bring the steak to fridge-cold salt stage or remove from fridge 45–60 minutes before cooking to reduce chill if not dry-brined.
- Preheat oven to 225°F (or set up indirect heat on the grill at low temperature).
- Place steak on a wire rack over a sheet pan and insert the thermometer probe—cook until the internal temperature is 10–15°F below final target (see temperature chart below).
- Remove from oven and let rest while you heat a heavy skillet or prepare a hot grill for direct searing.
- Sear over very high heat, 30–60 seconds per face, pressing lightly to ensure good contact, including the fat cap on its edge. Use clarified butter or a high-smoke-point oil for even browning.
- Add aromatics (crumbled garlic, thyme, rosemary) in the last 30 seconds and spoon hot fat over the meat for flavor and shine.
- Rest 8–10 minutes before carving; the carryover will finish cooking and redistribute juices.
Internal temperature targets (pull temperatures):
- Rare: pull at 115–120°F (finish ~125°F)
- Medium-rare: pull at 120–125°F (finish ~130–135°F)
- Medium: pull at 130–135°F (finish ~140–145°F)
Alternative methods: direct high-heat sear and sous-vide
- Direct sear: Useful if you prefer speed. Sear over extremely hot coals or a screaming-hot cast iron until a crust forms, then move to indirect heat to finish. Risk: a larger temperature gradient from crust to center.
- Sous-vide: Best for exact doneness control. Vacuum-seal and sous-vide to final temperature, then dry thoroughly and sear at very high heat for crust. This produces uniform doneness edge-to-edge but sacrifices a bit of the rustic texture from slow cooking near the bone.
Choose based on equipment and how much control you want over the center’s doneness.
Finishing touches and carving for presentation
After resting, hit the fat cap with a quick sear if it didn’t fully render. Slice with a sharp carving knife into 1/2-inch slices against the grain for the most tender bite. For extra richness, top with a compound butter (garlic, herbs, lemon zest) or a drizzle of aged balsamic reduction. When serving whole, position the bone for dramatic presentation and use the bone as a natural handle for carving tableside.
Sides, sauces, and beverage pairings
Rich, fatty meat pairs well with bright, slightly acidic sides to cut through the richness and a textural contrast.
- Vegetables: Sautéed greens or a sweet-spinach skillet provide balance; for a way to make greens appealing even to skeptics try a sweet-savory approach with a tried method to turn spinach into a candy-like side.
- Starches: Crispy roasted potatoes or herbed polenta.
- Sauces: Simple pan jus or chimichurri adds acidity and freshness.
For a cooling, slightly herbal beverage, pair with a chilled, lightly flavored drink like a cucumber-lemon spritzer or a refreshing aloe-based drink; an easy homemade option can be found in a recipe for refreshing aloe vera juice that complements fatty cuts without overwhelming them.
Common mistakes and how to avoid them
- Skipping temperature checks: Relying on time alone leads to inconsistent results. Use a thermometer.
- Searing too early: High-heat sear before the interior is near target temperature risks overcooking the outer layers.
- Not resting: Carving too early lets juices run out; rest at least 8–10 minutes.
- Over-seasoning with sugar: Sugars can burn on high heat and create bitter flavors; keep seasoning savory.
- Using low-smoke-point fats for searing: They burn, creating off-flavors; choose ghee, clarified butter, or high-smoke-point oil.
Storage and reheating leftover slices
Cool leftovers quickly, store in an airtight container, and use within 3–4 days. Reheat gently to preserve texture:
- Oven: 250°F until warmed through (about 20 minutes for slices), then quick sear to refresh the crust.
- Skillet: Low heat with a splash of stock and a lid to steam-warm gently.
Avoid microwaving, which dries meat and ruins the crust.
Frequently asked questions
Q: How long should I rest per pound?
A: Rest time depends on thickness more than weight; aim for 8–12 minutes for a 2–3 inch thick steak. Longer rests can improve juiciness but reduce served temperature.
Q: Can I reverse sear on a charcoal grill?
A: Yes. Use a two-zone setup: low, indirect heat for the initial slow cook, then move over direct, high heat for searing.
Q: Is the bone flavor significant?
A: The bone adds flavor and affects heat transfer; it helps keep the meat nearby slightly juicier and adds visual drama.
Q: Should I baste during sear or brown first?
A: Brown first without basting to form crust, then add butter and aromatics in the final moments to baste and layer flavor.
Q: How do I know when the fat cap is rendered enough?
A: It should be browned and slightly crisp around the edges, but still yield under pressure and not be entirely collapsed. A final hot-edge sear renders the exterior while preserving internal juiciness.
Final cooking checklist (printable)
- Choose a 2–3 inch thick, well-marbled cut
- Dry-brine or salt at least 1 hour ahead
- Use an accurate instant-read thermometer
- Reverse-sear: low-and-slow to 10–15°F below target, then high-heat sear
- Rest 8–12 minutes, then carve against the grain
Follow precise temp targets and rest times, protect the meat from excessive direct heat during the initial cook, and finish with a hot, quick sear. These steps consistently deliver a juicy interior and a properly caramelized crust for a memorable steak night.