Grilled Tomahawk Steak Recipe
Grilled Tomahawk Steak Recipe
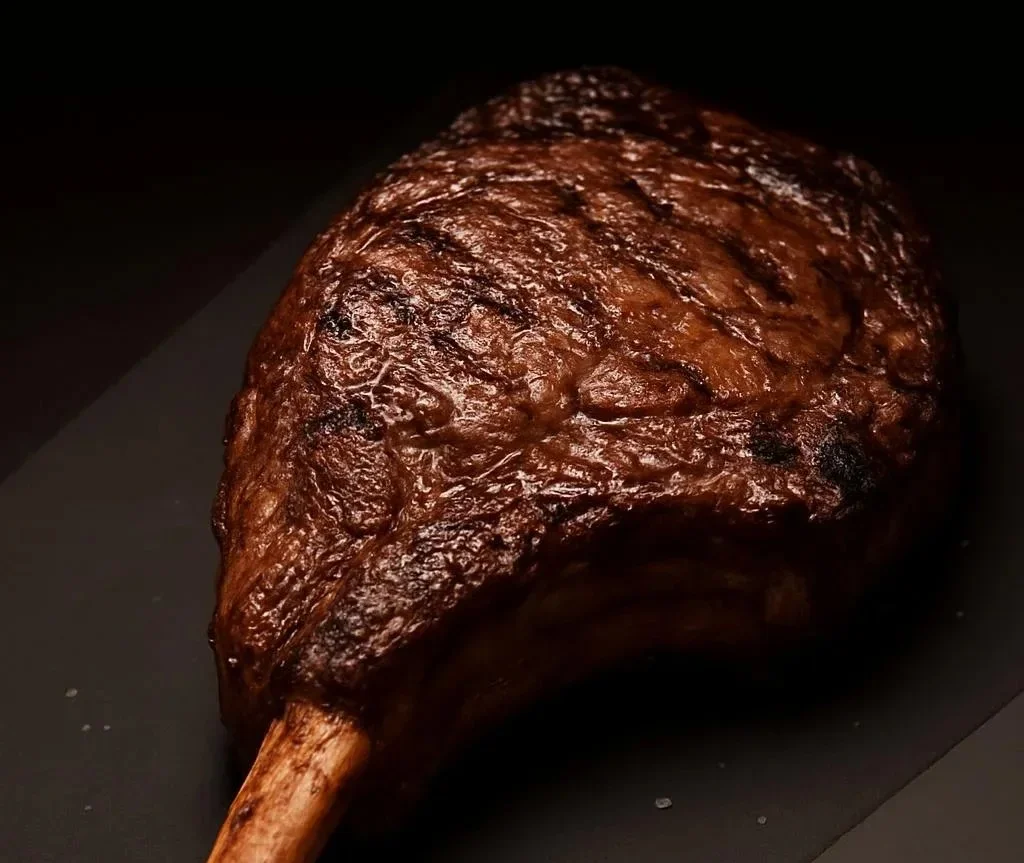
A perfectly cooked tomahawk delivers an impressive crust, rich beef flavor, and a tender, steakhouse-quality interior when handled correctly on a hot grill. This guide walks through selection, seasoning, grilling technique (including reverse sear and direct-sear options), temperature targets, and finishing touches so you can reproduce consistent results at home. For creative ways to use leftover slices, try this Mediterranean steak bowl recipe that stretches a large cut into several meals.

What makes this tomahawk approach exceptional
Cooking a long-boned ribeye requires balancing high-heat caramelization with gentle, even cooking through thick meat. The method here emphasizes simple seasoning, precise temperature control, and a short high-heat finish to develop crust without overcooking the center. The large size and bone-in profile make it ideal for reverse searing or two-zone grilling, both of which minimize gray bands and maximize juiciness.
Ingredient list with practical notes
- 1 tomahawk ribeye, 40–48 ounces, 2–2.5 inches thick
- Choose USDA Choice or Prime; marbling matters more than grade name.
- Kosher salt (preferably coarse)
- Salt well in advance or right before cooking; both approaches have pros covered below.
- Freshly ground black pepper
- Press on just before searing for better crust adhesion.
- High-smoke-point oil (grapeseed, avocado, or refined canola)
- Use sparingly to prevent flare-ups.
- Optional finishing butter, garlic, and fresh herbs (thyme or rosemary)
- Compound butter adds flavor at the table; optional for purists.
Notes:
- Do not over-trim fat; a thin cap helps flavor and protects meat from drying.
- If you prefer a herbed crust, mix finely chopped herbs with salt and press onto the meat 30 minutes before cooking.
Equipment needed
- Gas grill with dual-zone setup or charcoal grill with coals banked to one side
- Probe meat thermometer (instant-read plus leave-in probe if available)
- Tongs and long-handled spatula
- Cast-iron skillet or griddle (optional, for intense sear)
- Heatproof gloves or mitts
- Aluminum foil and a rimmed sheet pan for resting
Preparing the steak: timing and seasoning
- Bring the steak to room temperature for 45–60 minutes. This helps the center reach target temperature without over-charring the exterior.
- Dry the surface thoroughly with paper towels; moisture prevents proper crust development.
- Season liberally with kosher salt on all meat surfaces. For best penetration, salt 45–60 minutes ahead or salt right before grilling; salting too far in advance on very thick cuts can create a cured edge unless you prefer that effect.
- Add ground pepper just before searing to avoid burning and bitterness.
Step-by-step grilling method (reverse sear recommended)
- Preheat grill for two-zone cooking:
- High-heat side: 500–600°F for searing.
- Indirect side: 225–275°F for gentle cooking.
- Place the steak on the indirect side, bone toward the hotter zone to encourage even heat distribution.
- Insert a leave-in probe into the thickest part, avoiding bone. Target internal temperatures:
- Rare: 120–125°F
- Medium-rare: 125–130°F
- Medium: 135–140°F
- Remove steak 5°F below desired final temp for carryover.
- When the steak reaches the pull temperature, move it to the hot side for searing. Alternatively, sear in a preheated cast-iron skillet brushed with oil for a controlled crust.
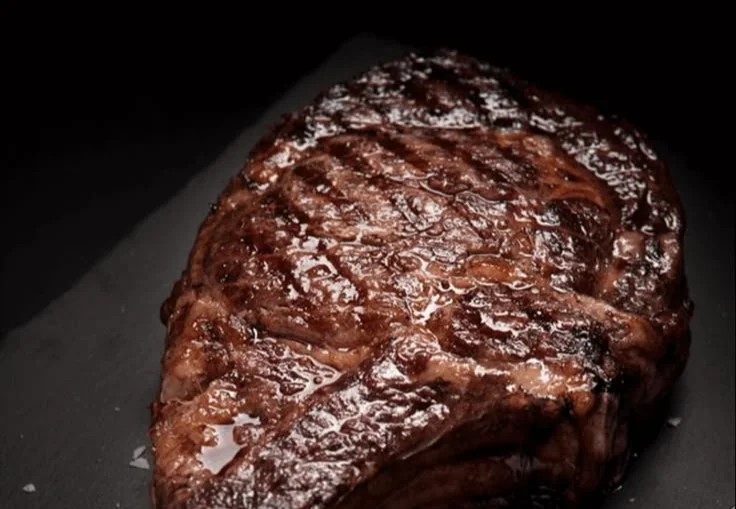
- Sear 45–60 seconds per side, using tongs to hold the fat cap to render and char edges. Aim for a deeply browned crust, not just blackened char.
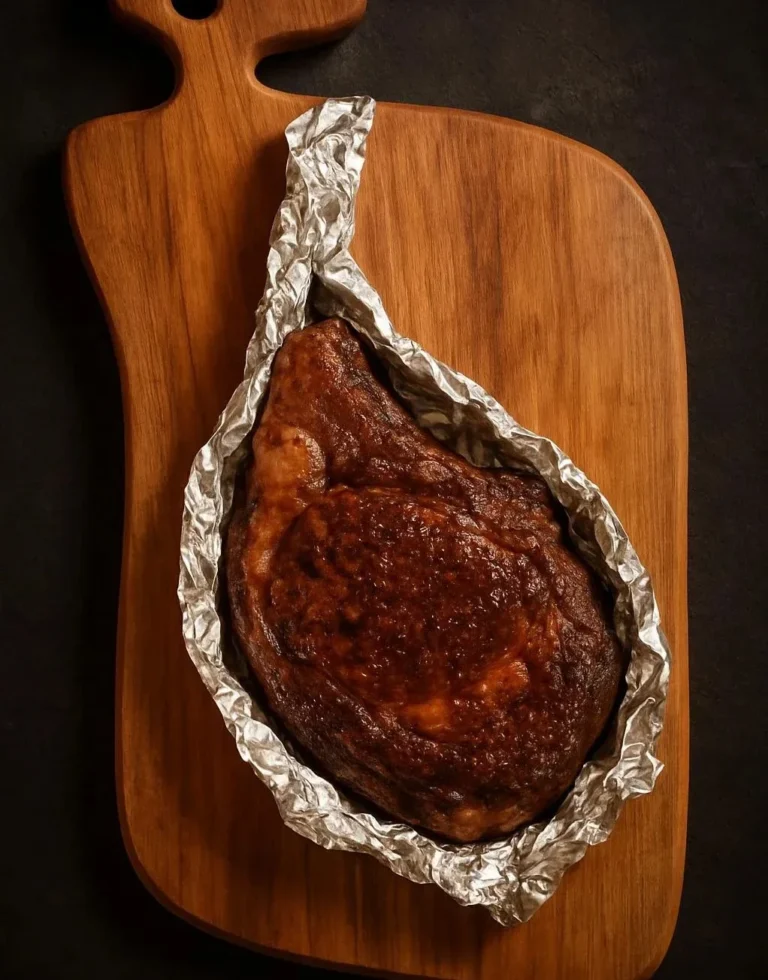
- Transfer to a sheet pan and tent loosely with foil; rest 10–15 minutes to allow juices to redistribute and for carryover to reach final temperature.
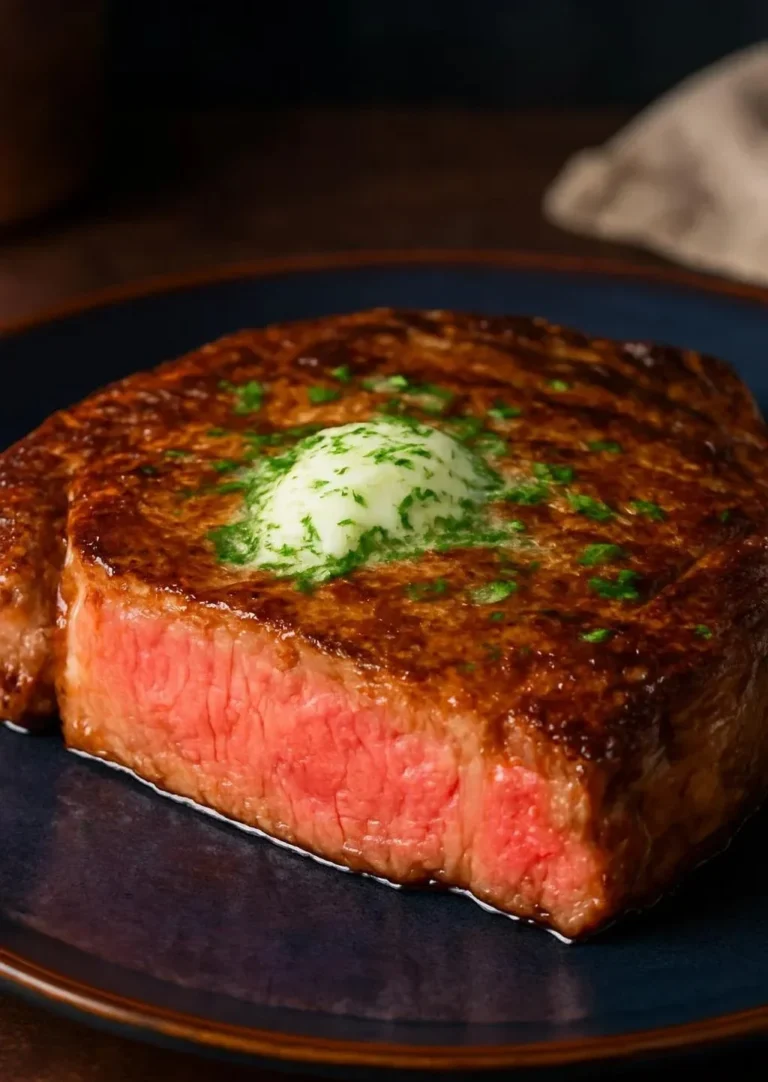
- Slice against the grain into 1/4–1/2-inch slices and serve.
Direct-sear alternative for time-pressed cooks
If time is limited or you don’t have an accurate probe, use a high-heat direct sear:
- Preheat the grill to 600–700°F.
- Sear each side 2–3 minutes to form a crust, then move to indirect heat and finish until internal temperature is 5°F below target.
- This method is faster but demands close attention to avoid overcooking.
Pro tips for consistent results
- Use a reliable thermocouple or instant-read thermometer; visual cues alone are misleading on thick cuts.
- Calibrate your thermometer occasionally by checking ice-water (32°F) and boiling water points.
- Remember carryover cooking: large bones and mass increase internal temperature by 5–10°F after removal.
- For deeper smoke flavor on charcoal, add a small chunk of oak or hickory; avoid overpowering fruit woods.
- If flare-ups occur, move the steak briefly to indirect heat rather than constantly flipping; repeated movement prevents a stable crust.
- Rest under a loose tent—not airtight—to retain a crisp exterior.
Seasoning and finishing variations
- Classic butter baste: finish with a tablespoon of herbed butter and garlic during the last minute of searing.
- Dry rub: smoked paprika, garlic powder, onion powder, and brown sugar for a sweet-savory crust—use sparingly to avoid burn.
- Steak with chimichurri: bright parsley-garlic sauce cuts through richness and adds freshness.
- Asian-inspired: brush with a soy-mirin glaze during the final sear for caramelized umami notes.
For ideas on turning sliced steak into a quick dinner bowl or family meal, see these cowboy butter tortellini steak bites that make efficient use of cooked beef.
Storage and safe reheating
- Refrigerate sliced steak in an airtight container within two hours of cooking. Use within 3–4 days.
- For longer storage, vacuum-seal and freeze up to 3 months; thaw in the refrigerator before reheating.
- Reheat gently to preserve juiciness:
- Oven method: place slices on a wire rack over a baking sheet at 275°F until warmed through, then quickly sear for crust.
- Sous vide: vacuum or zip-top bag at 130°F for medium-rare until warm, then pat dry and sear.
- Avoid microwaving unless combined into a sauced dish, which masks dryness.
Common mistakes and how to avoid them
- Skipping a thermometer: guessing doneness leads to overcooking; use a probe.
- Charring without checking internal temp: an excellent crust means little if the center is dry.
- Over-salting early on ultra-thick cuts: long dry-brine can firm the outer layers—adjust timing.
- Flipping too frequently: flip only as needed; constant turning inhibits crust.
- Not resting: slicing too soon causes juices to run out; rest for at least 10 minutes.
Serving suggestions and pairings
- Classic sides: grilled asparagus, roasted fingerling potatoes, or mashed root vegetables.
- Sauces: simple pan jus from deglazing, chimichurri, or a red wine reduction.
- Beverage pairings:
- Bold red wines: Cabernet Sauvignon, Malbec, or Syrah complement the beef’s fat.
- Beers: robust amber ales or stouts cut through richness.
- If you want hearty pasta or starch ideas to accompany sliced steak, try this roundup of one-pan gnocchi recipes for quick, comforting sides that pair well with slices.
Frequently asked questions
Q: How thick should the steak be for the best results?
A: Aim for 2–2.5 inches. Thicker cuts give you more control over internal doneness and allow a pronounced crust with a tender center.
Q: Is reverse searing always better than direct searing?
A: Reverse searing gives more even doneness and is forgiving for thick cuts. Direct searing is faster but requires precise timing and attention.
Q: Can I use the oven instead of a grill?
A: Yes. Cook indirectly in a 250–275°F oven until 5°F below target, then finish on a very hot cast-iron skillet or broiler to form a crust.
Q: What’s the best way to carve around the bone?
A: Slice parallel to the bone to remove the cap, then cut across the grain into uniform slices. A long carving knife helps for clean cuts.
Q: How do I get a restaurant-quality crust at home?
A: Ensure the steak surface is dry, use very high heat for a short time, and avoid overcrowding the searing surface. A cast-iron skillet preheated until smoking can provide an excellent crust if grill heat is inconsistent.
Final notes
Focus on temperature control, a dry surface for searing, and a solid resting period to consistently produce tender, juicy results with this show-stopping cut. Adjust seasoning and finishing to taste, and use leftovers creatively to extend value and reduce waste.