My Fave Birria Tacos
My Fave Birria Tacos
These are the birria tacos I return to when I want big, layered flavor with tender, shreddable meat and a crisp, dippable tortilla. The approach below balances traditional birria techniques with accessible steps for a home kitchen, delivering a rich consommé, well-seasoned shredded beef, and tacos that hold up to folding, dipping, and sharing. For a light finish that contrasts the savory richness, serve a small spoonful of a quick fruit-based cool-down like 4-ingredient strawberry frozen yogurt after the meal.

Why this version stands out
This recipe prioritizes contrast: deeply braised meat, bright aromatics, and a crisp tortilla edge that soaks up but doesn’t collapse. I streamline chiles and long braises so you get authentic depth without obscure pantry items or days of prep. Each step is chosen to maximize flavor extraction and texture while keeping the process approachable for a weekday or weekend cook.
Overview: what makes the flavors work
Birria’s signature comes from three layers: a toasted chile and spice paste, a long simmer to break down collagen and develop umami, and finishing touches (lime, onion, cilantro) that cut through the richness. Toasting and hydrating the dried chiles and searing the meat create Maillard complexity. Simmering with aromatics and bones yields a consommé that’s almost savory-sweet, perfect for dipping.
Ingredients (with notes)
- 3–4 lb beef chuck roast (or a mix of chuck and short ribs) — good marbling is key for tenderness and flavor.
- 6–8 dried guajillo chiles — earthy and fruity; rehydrate and seed them.
- 2–3 dried ancho chiles — add smokiness and depth.
- 2–3 cloves garlic, peeled.
- 1 medium white or yellow onion, quartered.
- 1 tbsp apple cider vinegar or sherry vinegar — brightens the braise.
- 1 tsp dried oregano (preferably Mexican oregano).
- 1 tsp ground cumin.
- 1/2 tsp ground cloves or 2 whole cloves.
- 2–3 bay leaves.
- 6 cups beef stock or water (use stock for richer consommé).
- Kosher salt and freshly ground black pepper to taste.
- Corn tortillas, warmed and lightly oiled for frying.
- Chopped white onion, cilantro, lime wedges for serving.
- Optional: shredded Oaxaca or mozzarella-style cheese for quesabirria.
Notes:
- If you prefer stew beef, buy cuts that include some connective tissue to get the silky mouthfeel after slow cooking.
- For a deeper color and flavor, consider adding a small piece of cinnamon stick or a tablespoon of tomato paste to the chile blend.
Equipment needed
- Heavy Dutch oven or large braising pot with lid (6–8 quart recommended).
- Blender or immersion blender to purée the chile paste.
- Fine-mesh strainer to clarify the consommé.
- Tongs and a sturdy spatula for frying and assembling.
- Slow cooker or pressure cooker (optional substitutes for stovetop braise).
Step-by-step instructions
- Prep chiles: Remove stems and seeds from guajillo and ancho chiles. Toast lightly in a dry skillet until fragrant (30–60 seconds), then soak in hot water for 20 minutes until pliable.
- Make the chile paste: Blend rehydrated chiles with garlic, half the onion, vinegar, oregano, cumin, cloves, and a cup of the soaking liquid until very smooth. Add a little stock if needed to reach a saucy consistency.
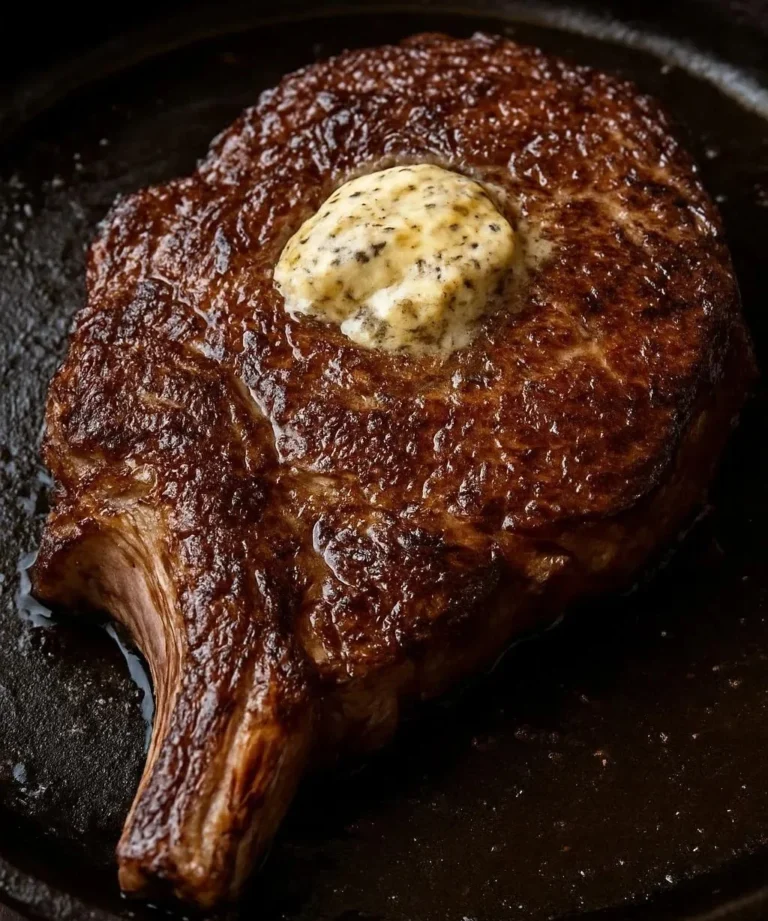
- Sear the meat: Pat beef dry, season with salt and pepper, and sear in batches in hot oil in your Dutch oven until deeply browned on all sides. Browning builds flavor and color in the final consommé.
- Combine and braise: Return all meat to the pot, pour over the chile paste, add remaining onion, bay leaves, and enough stock or water to cover halfway. Bring to a simmer, cover, and cook low for 3–4 hours on the stovetop, 6–8 hours on low in a slow cooker, or 60–75 minutes in a pressure cooker (follow manufacturer timings).
- Finish the consommé: Remove meat and strain the braising liquid through a fine-mesh strainer into a bowl. Skim excess fat if desired, then reduce the liquid on low heat until slightly thickened and intensely flavored; this is your dipping consommé.
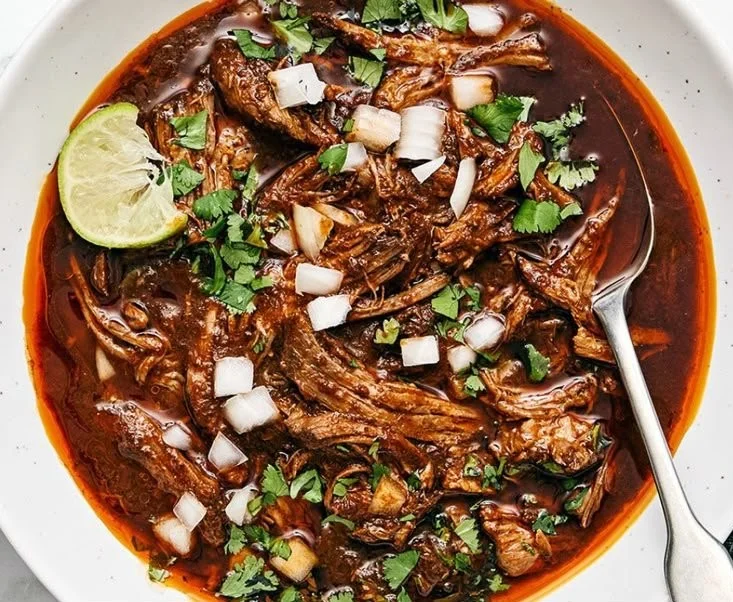
- Shred and season: Shred the meat and mix with a few spoonfuls of the reduced consommé to moisten and concentrate seasoning. Taste and adjust salt.
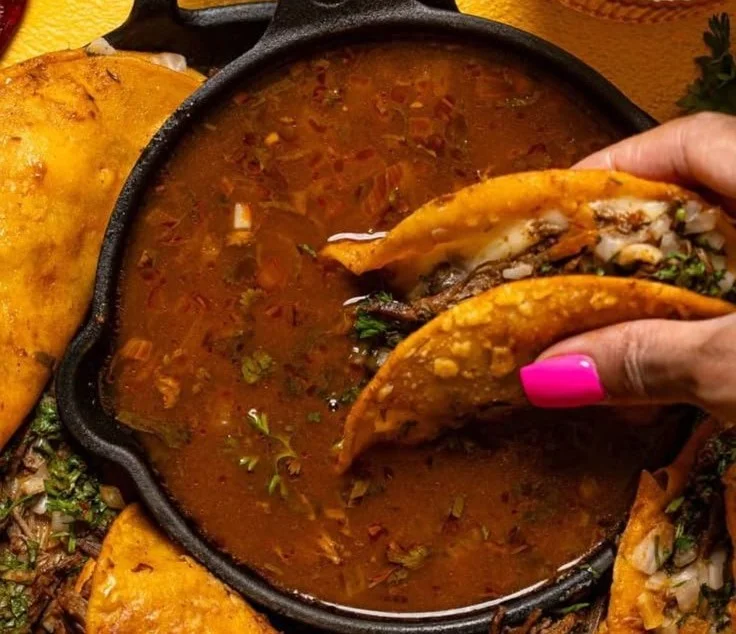
- Assemble tacos: Heat a skillet, lightly oil corn tortillas, dip one side of each tortilla briefly in warm consommé, place on skillet with the dipped side down, add a layer of meat (and cheese if using), fold and press until the exterior crisps and the cheese melts. Serve immediately with consommé for dipping.

Pro tips for best texture and flavor
- Don’t rush the sear: Deep color on the meat equals richer consommé; resist overcrowding the pan.
- Toast and strain the chiles: Toasting unlocks oils, and straining removes seeds or skin that can become grainy.
- Control the fat: A little fat carries flavor; skim only if it feels overwhelmingly slick. For diner-style tacos, you want some richness.
- Adjust acidity at the end: Vinegar or a squeeze of lime brightens the finished tacos; add sparingly and taste.
- Keep tortillas flexible: Warm them wrapped in a towel or on a low oven rack before dipping and frying to reduce splitting.
Storage and reheating
- Refrigerator: Store meat and consommé separately in airtight containers for up to 4 days. Keeping them separate preserves texture and allows you to control dipping.
- Freezer: Freeze meat and consommé in separate containers for up to 3 months. Cool completely before freezing and leave a headspace for expansion.
- Reheat: Gently warm consommé on the stove and use it to rehydrate meat, then assemble tacos as instructed. Avoid microwaving meat directly from freezer; thaw overnight in the fridge for best results.
Serving and pairings
Serve the tacos with traditional garnishes—chopped onion, cilantro, and lime wedges—to balance the richness. For a refreshing contrast, a chilled, slightly sweet fruit or dairy-based dessert brightens the palate; a creamy morning-style drink also pairs surprisingly well when serving brunch-style tacos, such as a creamy coffee smoothie that adds smooth, bitter-sweet notes alongside the savory tacos.
Variations and swaps
- Goat (birria de chivo): Use goat or a mix of goat and beef for a more authentic Jaliscan profile; cook times are similar but monitor tenderness.
- Chicken birria: Substitute bone-in chicken thighs for a lighter version; reduce simmer time to 45–60 minutes until the meat falls from the bone.
- Spicy or mild: Increase ancho chiles for smokier heat, or add chipotle for peaty spice. Reduce guajillo quantity to tone it down.
- Vegetarian option: Use roasted root vegetables, mushrooms, or jackfruit braised in the chile sauce and finished with umami-rich soy or miso to mimic depth.
Common mistakes to avoid
- Skipping the sear: Without browning, the consommé will lack depth and the shredded meat will taste flat.
- Using too much liquid early: Excess liquid dilutes flavors and prolongs cooking unnecessarily; start with less and add if needed.
- Overblending chile paste with air: Blending hot chiles into a hot liquid can become foamy and grainy; use short pulses and strain the purée.
- Frying tortillas too hot: If the oil is too hot, tortillas will burn before the cheese melts or the filling heats through. Medium heat gives crisp, evenly cooked shells.
- Assembling far in advance: These tacos are best eaten immediately; they lose crispness and become soggy if left sitting.
Frequently asked questions
Q: Can I make the consommé ahead of time?
A: Yes—consommé stores well and often tastes better after a day as flavors meld. Chill, skim fat, then reheat and reduce to intensify before serving.
Q: Is a blender necessary for the chile paste?
A: A blender or food processor produces the smoothest paste, but a stick blender works if you pulse carefully and then strain to remove solids.
Q: How do I keep tortillas from falling apart when dipping?
A: Use fresh corn tortillas, warm them to make them pliable, and don’t over-dip—briefly submerge one side only so the tortilla absorbs flavor without becoming waterlogged.
Q: Can I use a pressure cooker to speed things up?
A: Yes. Use the pressure cooker setting for 60–75 minutes depending on cut and size, then let natural release for best tenderness. Finish by reducing the strained broth on high to concentrate flavors.
Q: Should I add cheese?
A: Cheese is optional but popular in quesabirria. A mild melting cheese like Oaxaca or mozzarella adds a gooey texture that contrasts the braised meat.
Q: How spicy will this be?
A: The heat is adjustable: remove seeds and membranes from chiles to reduce heat, and balance spice with vinegar, lime, or a bit of sugar if needed.
Crafting high-flavor tacos comes from respecting the components—well-prepared chile paste, patient braising, proper seasoning, and crisping the tortilla just before serving. Follow the steps above, taste as you go, and make adjustments to suit how you like the final balance of heat, acid, and fat.