
Paper Plate Santa Craft For Kids
Fun and Festive: Paper Plate Santa Craft for Kids
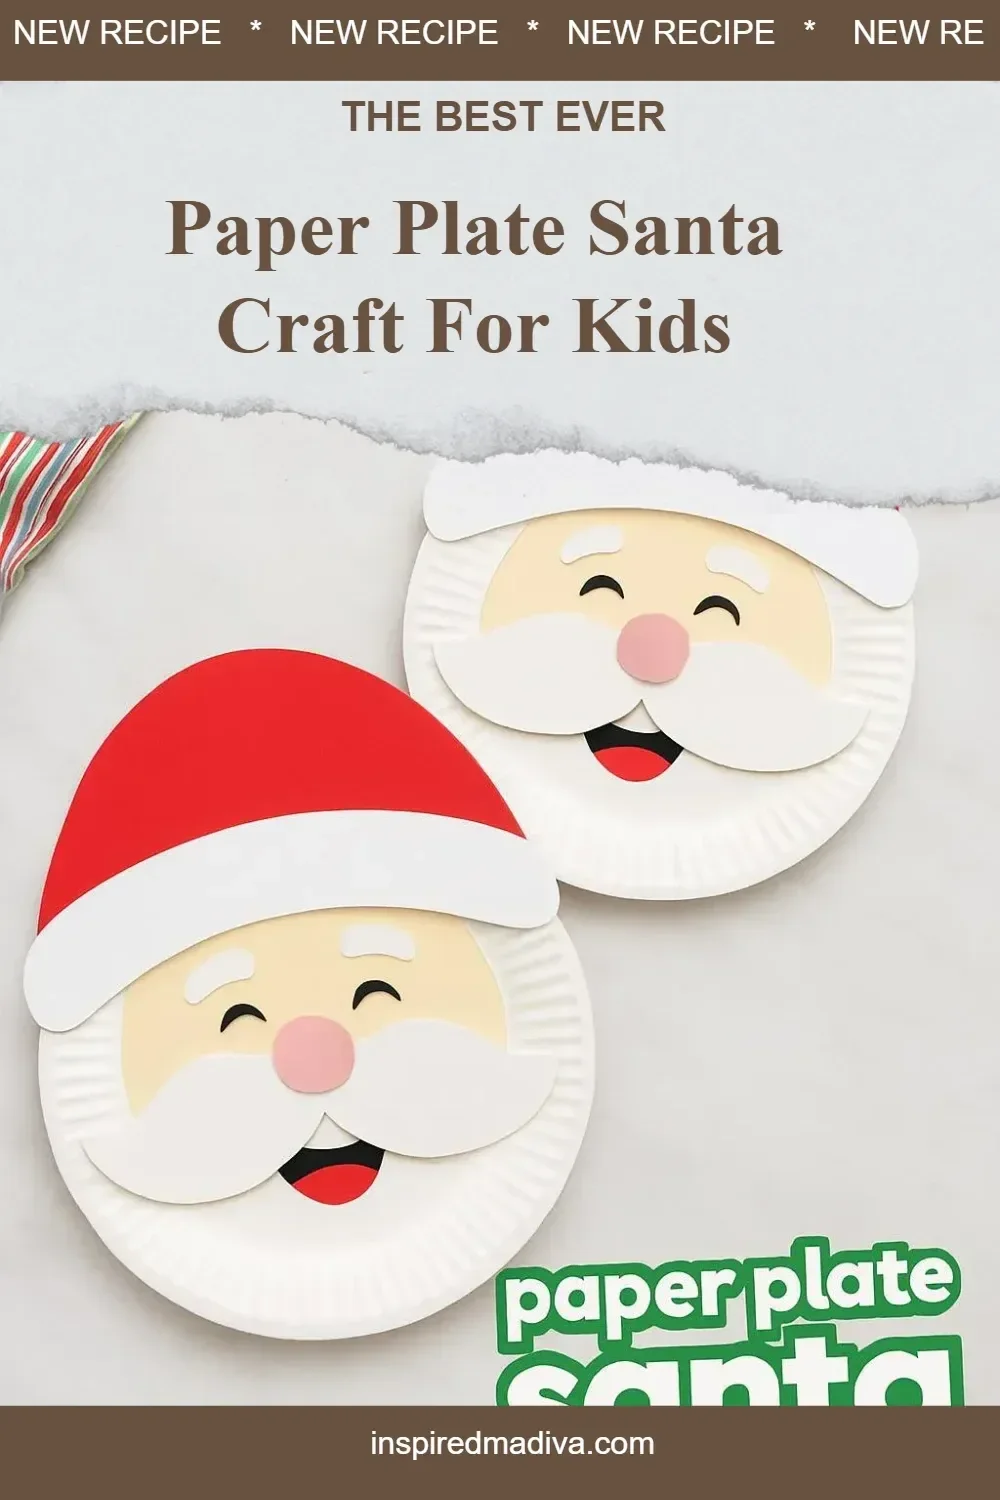
The holiday season is a magical time filled with joy, cheer, and creativity! One of the best ways to celebrate this festive period is through arts and crafts, especially when it comes to kids. A delightful project that combines fun and creativity is the Paper Plate Santa Craft. Easy to make and requiring minimal materials, this craft is perfect for children of all ages. Let’s dive into how you can create your very own Santa using a simple paper plate!
What You’ll Need
Before you get started, gather the following materials:
- Paper Plates: Ideally, use one larger plate for Santa’s face and a smaller one for his hat.
- Cotton Balls or Cotton Batting: These will be used for Santa’s beard and the trim on his hat.
- Red and White Construction Paper: For the hat, face, and any additional decorations.
- Googly Eyes or Black Marker: To give Santa his characteristic playful look.
- Glue or Glue Stick: This will help you attach all your elements together.
- Scissors: For cutting out pieces.
- Optional: Glitter, sequins, or additional craft supplies to decorate.
Step-by-Step Instructions
Step 1: Prepare the Paper Plates
- Santa’s Face: Take the larger paper plate and flip it so the bottom side is facing up. This will be Santa’s face.
- Santa’s Hat: Take the smaller paper plate and cut it into a triangle shape to create the hat. Make sure it’s large enough to be noticeable when placed on Santa’s head.
Step 2: Paint or Color Santa’s Face
- Using crayons, markers, or paint, color the larger paper plate to give Santa a rosy complexion. Light shades of pink or peach work well for a classic look.
Step 3: Create the Hat
- Take the triangle-shaped piece from the smaller plate and color it red. Attach a strip of white construction paper along the bottom edge of the hat for the fluffy trim. You can also glue cotton balls or cotton batting onto this edge for a more textured look.
Step 4: Assemble Santa’s Features
- Eyes: Glue on googly eyes or use a black marker to draw Santa’s eyes on the larger plate.
- Beard: Take some cotton balls or cotton batting and glue them onto the lower part of the plate to form Santa’s beard. Fluff it up for a more realistic look!
Step 5: Add Finishing Touches
- Use cut-out pieces of red and white paper to add a nose and a mouth. You can also use glitter or sequins to add some sparkle to Santa’s hat.
Step 6: Display Your Masterpiece
- Once everything is dry and set, you can hang your Paper Plate Santa on the wall, attach him to the fridge, or use him as a festive table centerpiece.
Why This Craft is Beneficial for Kids
Crafting is not only a fun activity but also promotes creativity and fine motor skills in children. This Paper Plate Santa craft is an excellent way for kids to express their individuality through art. It encourages them to use their imagination and learn about following directions, all while celebrating the festive spirit of the season!
Conclusion
The Paper Plate Santa Craft is a simple yet delightful project that brings the joy of the holiday season into your home. It allows children to engage in creative play while providing an opportunity to bond with family. Gather those supplies and let the crafting fun begin—your very own Santa is just a few steps away! Happy crafting and merry making!